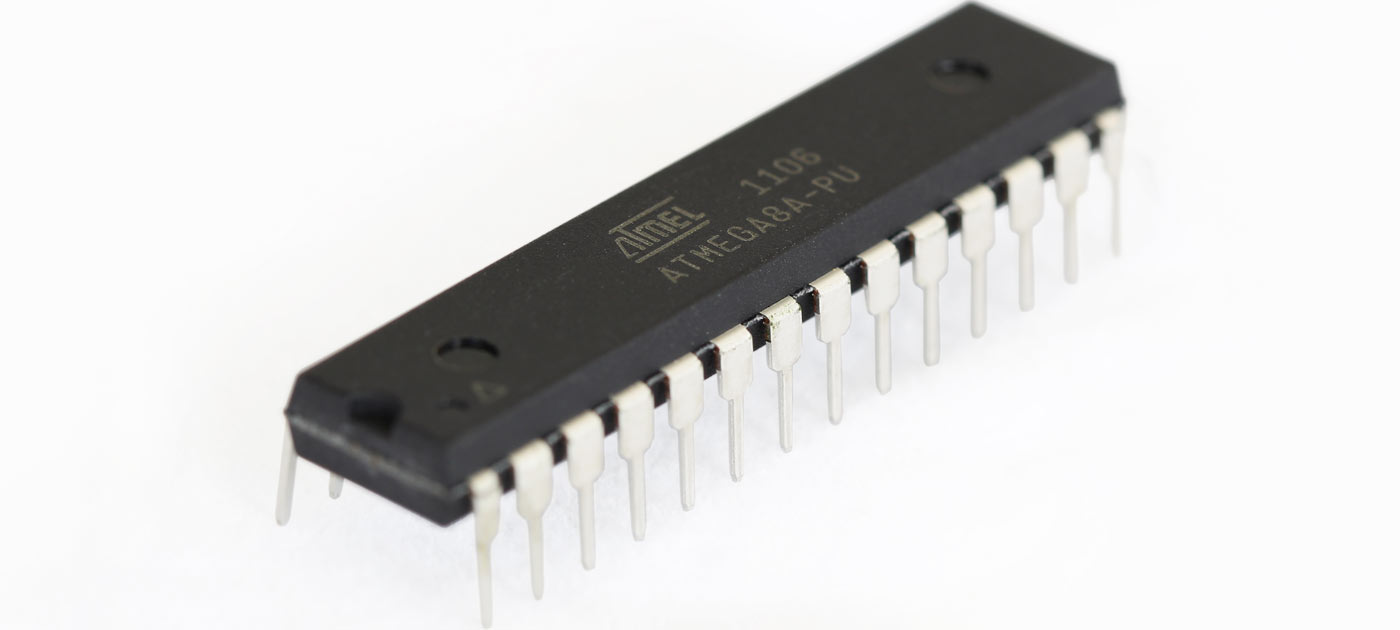
We've been selling many different AVR microcontrollers for some time. This week we add the ATMEGA1284 to our lineup. The ATMEGA1284 is quite impressive with 128K of flash and 16K of RAM. It comes in a 40 pin through-hole PDIP package, has the same general pinout as the ATMEGA32A but runs faster and has more...
It's always exciting to add new products and this month is no exception The first thing we noticed about these mini breadboards were the amazing colors. The second thing we noticed was the size. Pocket sized for those pocket sized projects. We've stocked Curved tip tweezers since 2010 and when our stock ran out we...
A few hacks to make bread boarding easier... 1. Hacking the power buses The power buses on a breadboard are constructed in multiple pieces. To get continuity down the length of the bus you need to add jumper "staples" like so. With this hack, we peel back the adhesive tape on the back of the...
Back in February, we wrote a post on Analogue to Digital Conversion. Many people mentioned that it was a bit light and they would like a more advanced tutorial. Well here it is... In this tutorial we add a second analogue input and use the ADC Conversion Complete interrupt. The circuit we are using is...
Many AVR microcontrollers are capable of doing Analogue to Digital Conversion. The ATmega168 has 6 ports (8 ports on the SMD packages) that can be used for analogue input. This tutorial shows you how. The circuit We'll be building the following circuit on a breadboard. The Breadboard layout is based on the Atmega8 breadboard circuit...
EEPROM (Electrically Erasable Programmable Read Only Memory) Is non-volatile memory, meaning it persists after power is removed. The ATmega168 microcontroller has 512 bytes of EEPROM which can be used to store system parameters and small amounts of data. This tutorial shows you how to read and write EEPROM. Overview Our code examples will be very...
Recently a friend asked me, "What do I buy if I'm just starting out with embedded systems and want to learn?". I told him a breadboard solution would be best and started rattling off all the bits that he would need. Then I got thinking, what if we made this a kit? So here it...
This tutorial will teach you how to use external and pin change interrupts on an AVR microcontroller. I will be using an ATmega168. The general principles apply to other AVR microcontrollers, but the specific vary greatly. What is an Interrupt? Imagine your are sitting at your computer, reading this post. The phone rings and you...
This tutorial will teach you how to use the I/O ports on an AVR microcontroller. I will be using an Atmega8 but the general principles apply to any AVR microcontroller. Introduction The Atmega8 has 23 I/O ports which are organised into 3 groups: Port B (PB0 to PB7) Port C (PC0 to PC6) Port D...
This tutorial shows you how to control 16 LEDs with just 3 control lines. We do this by daisy chaining 74HC595 shift registers The 74HC595 shift register has an 8 bit storage register and an 8 bit shift register. Data is written to the shift register serially, then latched onto the storage register. The storage...
Mechanical switches do not make or break a connection cleanly due to microscopic conditions on the contact surface. This is referred to as "Switch Bounce" and can cause problems in digital circuits. In this tutorial we will build a circuit that demonstrates this problem, then modify it slightly to resolve it. We will be reusing...
This tutorial continues on from ATmega8 breadboard circuit Part 1 and ATmega8 breadboard circuit Part 2. So far we've built a power supply, added the microcontroller, added some plumbing to make it work and added the ISP interface, but it really doesn't do anything. The next step is to add some I/O devices and upload...
This tutorial continues on from ATmega8 Breadboard Circuit - Part 1 where we build a small power supply on the breadboard. In this part we will add the ATmega8 microcontroller and an interface to allow it to be programmed. The first step is to orient yourself with the ATMEGA8 microcontroller. Since we are building our...
This is the 1st of a 3 part series where I will describe how to build a basic ATmega8 circuit and program it with a simple program. This tutorial is ideal for first timers, so read on... Breadboards usually have a break or two in the bus strips, so the first thing we will do...
Breadboards are invaluable for experimenting with electronic circuits. They allow you to create temporary circuits that can be easy changed. This tutorial explains the basics of how breadboards work and how to use them. A typical breadboard consists of 100's of holes called tiepoints. These tiepoints are aligned on a 0.1" (2.54mm) grid. The board...


