
Mechanical switches do not make or break a connection cleanly due to microscopic conditions on the contact surface. This is referred to as “Switch Bounce” and can cause problems in digital circuits. In this tutorial we will build a circuit that demonstrates this problem, then modify it slightly to resolve it.
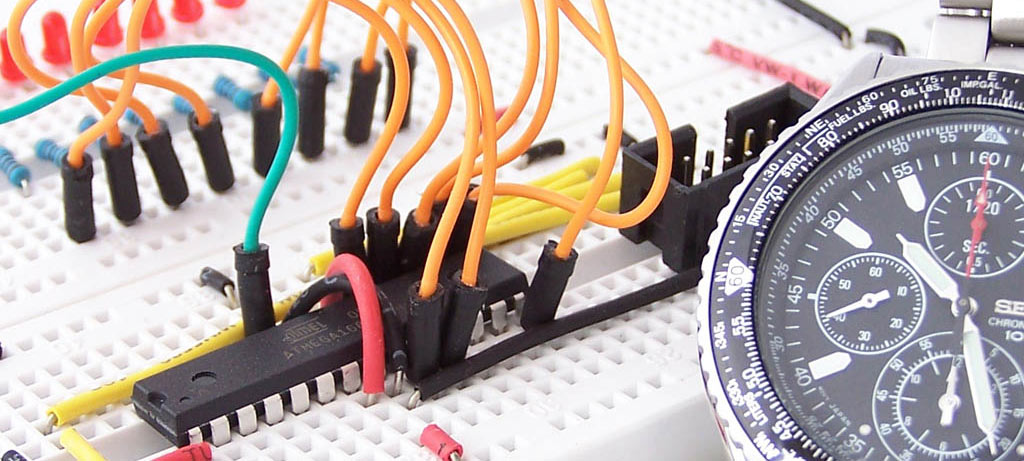
We will be reusing the circuit from the ATmega8 breadboard circuit tutorial.
The schematic is shown below.

Next we write and upload some code to the microcontroller. This program waits for you to press a button, then records how many times you press
that button until it senses a quiet period. At this point it flashes the LED for as many times as button presses were recorded.
1 2 3 4 5 6 7 8 9 10 11 12 13 14 15 16 17 18 19 20 21 22 23 24 25 26 27 28 29 30 31 32 33 34 35 36 37 38 39 40 41 42 43 44 45 46 47 48 49 50 51 52 53 54 55 56 57 58 59 60 61 62 63 64 65 66 67 68 69 70 71 72 73 74 75 76 77 78 79 80 81 | #include <avr/io.h> #include <util/delay.h> //Define functions //====================== void ioinit(void); void led_on(void); void led_off(void); //====================== int main (void) { ioinit(); //Setup IO pins and defaults while (1) { int num_presses; //Number of times button has been iterations int num_nopress_iterations; //Number of loop iterations since last button press char button_state; //1=pressed, 0=not pressed //Wait for button to be pressed while (!bit_is_clear(PINC, 5)) {} num_presses=1; button_state=1; while (1) { if (bit_is_clear(PINC, 5)) //button is pressed { if (button_state==0) //was previously not pressed) { num_presses++; } button_state=1; } else //button is not pressed { if (button_state==1) //was previously pressed { num_nopress_iterations=0; } num_nopress_iterations++; button_state=0; if (num_nopress_iterations>20000) //If we haven't seen a button press for a while, terminate the loop { break; } } } for (int i=0;i<num_presses;i++) { led_on(); _delay_ms(300); led_off(); _delay_ms(300); } if (bit_is_clear(PINC, 5)) { } } } void ioinit (void) { DDRC = 0b11011111; //1 = output, 0 = input PORTC = 0b00100000; //Enable pin 5 internal pullup } void led_on(void) { PORTC |= _BV(PC4); } void led_off(void) { PORTC &= ~_BV(PC4); } |
When you run the program and press the button, you will often notice the LED blinking too many times. This is due to the button bounce.
The first figure below shows how we normally think a button press looks like. The Next one is closer to the truth (even this one is a bit too clean and elegant)


Fixing the problem is very easy. All you need to do is add a capacitor. I used a 100nF capacitor, but experiment with what works best for you.


Note: The problem isn’t too pronounced on a breadboard as it has a lot of natural capacitance. On a PCB the problem is much more severe.


I believe you can add little delay like
if (bit_is_clear(PINC, 5)) //button is pressed
{
_delay_ms(50);//Add this line
if (button_state==0) //was previously not pressed)
{
num_presses++;
}
button_state=1;
}
to prevent bounce issue…..
Thanks for the tutorial.
Using delays for debouncing is the simplest way but is not the most efficient!
Try this method and you’ll always use it!
#include
#define	SW1				0					// PINB.0

#define	DEBOUNCE_CNT	5					// Debounce Counter

unsigned char SW1Pressed (void) {					//	Checks if SW1 is pressed and debounced.

	static unsigned char SW1KeyCount = 0,  SW1KeyPressed = 0;

	if (SW1KeyPressed) {

		if (BITISSET(PINA,SW1)) {

			if (SW1KeyCount < DEBOUNCE_CNT)

				SW1KeyCount++;

			else {

				SW1KeyPressed = 0;

				SW1KeyCount = 0;

			}

		}

	} else {

		if (BITISCLEAR(PINA,SW1)) {

			if (SW1KeyCount < DEBOUNCE_CNT)

				SW1KeyCount++;

			else {

				SW1KeyPressed = 1;

				SW1KeyCount = 0;

				return (1);

			}

		}

	}

	return (0);

}
int main(void) {

	PORTB = (1 << SW1);						// Internal Pull-Up

	for(;;) {

		if (SW1Pressed()) {						// SW1 pressed and debounced

			printf("SW1 Pressed.");

		}

	}

}
پروژه الکترونیک ARM STM32 LPC AVR PIC اتوماسیون مانیتورینگ کنترل صنعتی
nice tutorial-nice code…
to get the code to compile, i had to change this line:
PORTC &= ~_BV(PC4);
to this:
PORTC = ~_BV(PC4);
is & necessary, or just a fat-finger?
also, if a switch can be nicely debounced w just a cap, why does everyone rant about schmitt triggers?