We released the 28 Pin AVR Development Board back in 2008 and since then it has gone through many iterations. This week we release version 1.6 which adds 4 improvements. These improvements were based on customer feedback and we are very grateful for the feedback. Please keep it coming. What has changed? The size of...
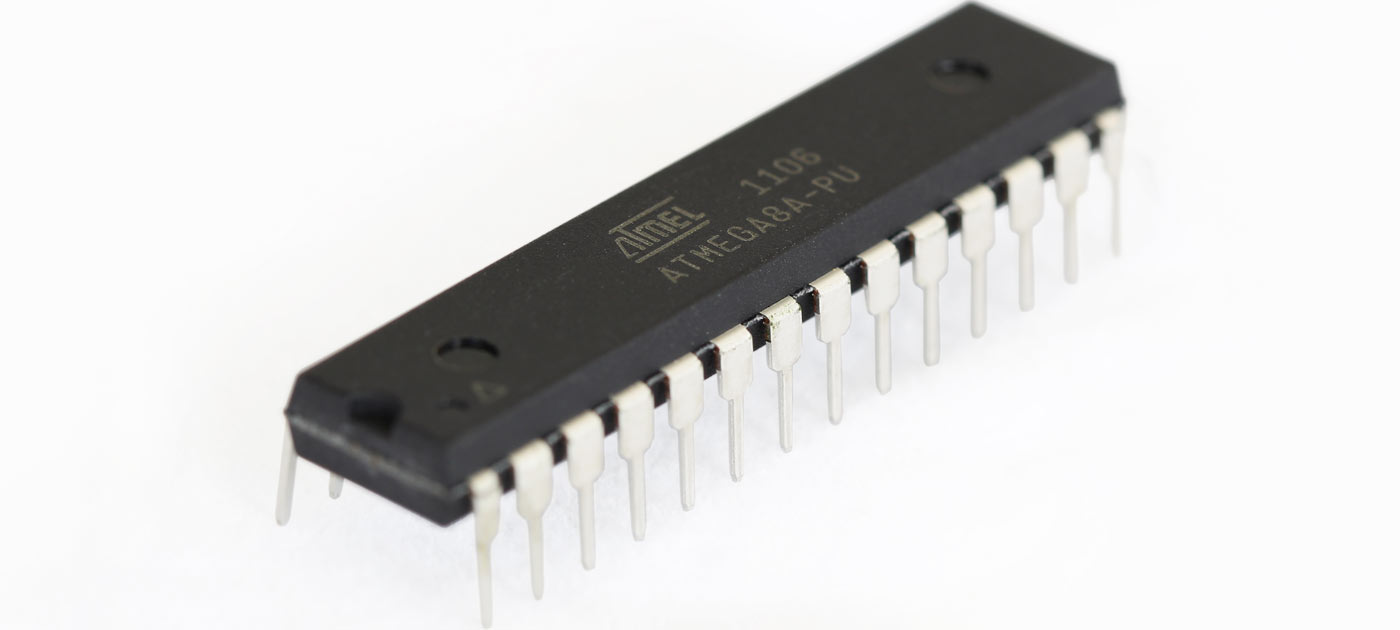
Sometime last year we ran out of ATmega8 microcontrollers. These became obsolete and were being replaced by the ATmega8A. Unfortunately we have seen huge shortages in AVR microcontrollers over the last 18 months and the new ATmega8A was no different. Whilst shortages still continue, we have managed to get hold of some ATmega8As in the...
Version 1.5 of the 28 Pin AVR Development Board is now available. As before we have incorporated a number of changes that people had asked for. The most notable change is a figure-8 shaped hole for mounting the voltage regulator. This configuration allows for both Input/Ground/Output (IGO) and Ground/Output/Input (GOI) style voltage regulators. Other changes...
This tutorial will teach you how to use the I/O ports on an AVR microcontroller. I will be using an Atmega8 but the general principles apply to any AVR microcontroller. Introduction The Atmega8 has 23 I/O ports which are organised into 3 groups: Port B (PB0 to PB7) Port C (PC0 to PC6) Port D...
This tutorial shows you how to control 16 LEDs with just 3 control lines. We do this by daisy chaining 74HC595 shift registers The 74HC595 shift register has an 8 bit storage register and an 8 bit shift register. Data is written to the shift register serially, then latched onto the storage register. The storage...
Introduction This tutorial continues from Character LCD Displays - Part 1. In this part we will connect the LCD module to an Atmega8 microcontroller, then write some code to drive it. The Circuit Our first task is to build the circuit. We will be using an AVR 28 pin Development Board. For the power supply...
Mechanical switches do not make or break a connection cleanly due to microscopic conditions on the contact surface. This is referred to as "Switch Bounce" and can cause problems in digital circuits. In this tutorial we will build a circuit that demonstrates this problem, then modify it slightly to resolve it. We will be reusing...
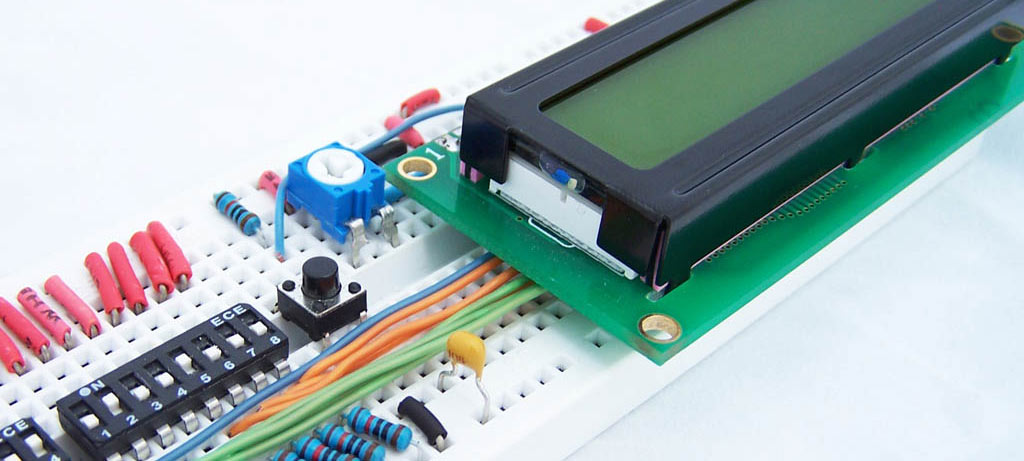
Introduction LCD character displays can be found in espresso machines, laser printers, children's toys and maybe even the odd toaster. The Hitachi HD44780 controller has become an industry standard for these types of displays. This tutorial will teach you the basics of interfacing with a HD44780 compatible display using some DIP switches and a few...
This tutorial continues on from ATmega8 breadboard circuit Part 1 and ATmega8 breadboard circuit Part 2. So far we've built a power supply, added the microcontroller, added some plumbing to make it work and added the ISP interface, but it really doesn't do anything. The next step is to add some I/O devices and upload...
This tutorial continues on from ATmega8 Breadboard Circuit - Part 1 where we build a small power supply on the breadboard. In this part we will add the ATmega8 microcontroller and an interface to allow it to be programmed. The first step is to orient yourself with the ATMEGA8 microcontroller. Since we are building our...
This is the 1st of a 3 part series where I will describe how to build a basic ATmega8 circuit and program it with a simple program. This tutorial is ideal for first timers, so read on... Breadboards usually have a break or two in the bus strips, so the first thing we will do...


