This week we have something that is so simple, it hardly qualifies as a tutorial, so let’s call it a “tip” and get started.
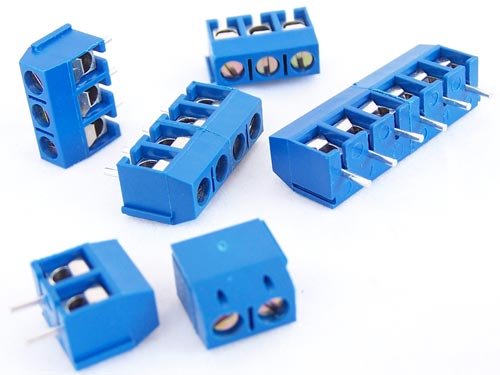
For some time we’ve stocked 2 pin and 3 pin terminal blocks. These terminal blocks have standard 5.08mm spacing, so they fit in all our development and prototyping boards. This is all good, but what do you do if you need a 4-way, 5-way or even bigger terminal block?
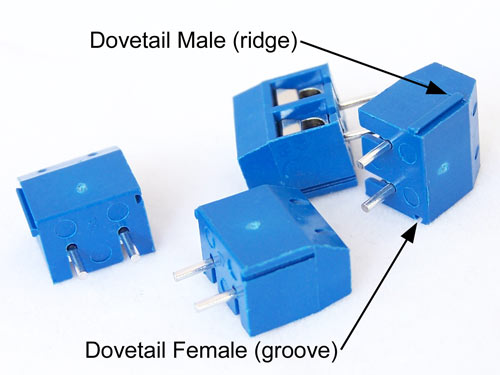
If you look closely at the terminal blocks, you will notice a dovetail shaped ridge (male) and dovetail shaped groove (female). These are shown in the photo below and are intended to mate together.

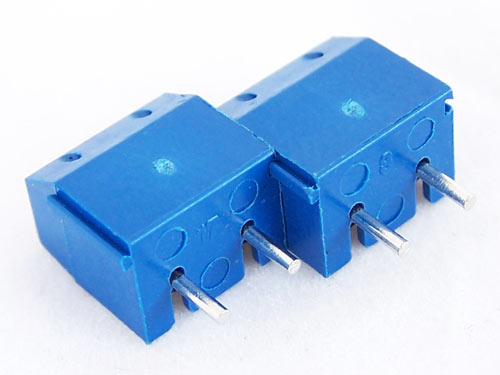
Simply connect the male and female ends together then slide the terminal blocks into place.

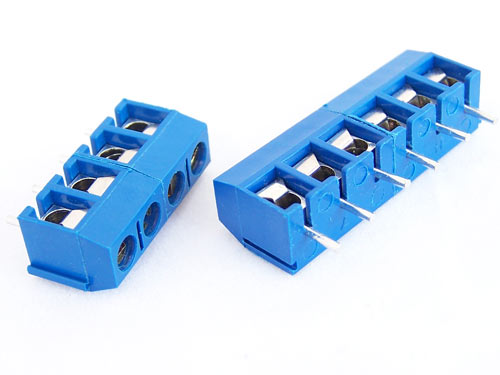
And there you have it, longer terminal blocks. Using combinations of 2 and 3-way terminal blocks you can create any length you want.

You may be tempted at this point to create terminal blocks of extreme length, but we do ask that you extend responsibly.


