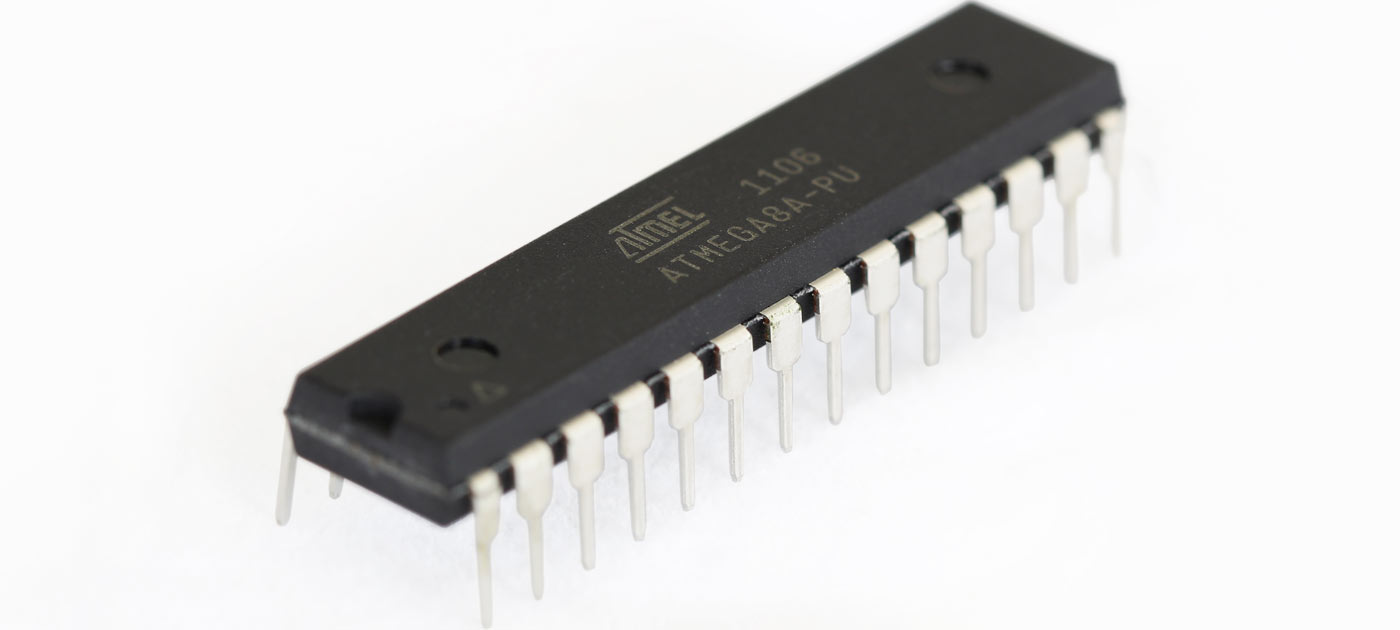
This tutorial continues on from ATmega8 Breadboard Circuit - Part 1 where we build a small power supply on the breadboard. In this part we will add the ATmega8 microcontroller and an interface to allow it to be programmed. The first step is to orient yourself with the ATMEGA8 microcontroller. Since we are building our...
Jonathan Oxer at Practical Arduino did a video review of our Atmega8 development kit earlier this week. I really like his idea about adding a dedicated area on the board for a power supply.
This is the 1st of a 3 part series where I will describe how to build a basic ATmega8 circuit and program it with a simple program. This tutorial is ideal for first timers, so read on... Breadboards usually have a break or two in the bus strips, so the first thing we will do...
Board stacking is simply the process of taking 2 or more prototyping boards and fixing them into a vertical stack. The main reason for doing this is to build systems that are bigger than just 1 board. All the Protostack Large, Medium and Small boards have a common form factor. This is what makes stacking...
Breadboards are great and so are protoboards that are based on breadboard layouts. Well most of the time :-( . They both have problems when you need to use IDC connectors, dual row headers or any other component that has 2 rows of connectors on a 0.1" (2.54mm) grid. The problem is due to the...


